DigCompEdu Competence area
Progression Level
Minimum digital skills level of Students
Minimum digital skills level of Educators
Learning/Teaching situation
Teachers want to prepare tutorials and other learning resources for software applications.
Target group
Any kind of language teachers or trainers. Beginners with basic level of digital pedagogy competences.
Ingredients
- PC/laptop/smartphome
- Internet connection
- Email account
Description
This recipe provides a tool for the teacher to help the students collaborate and communicate better.
The main use is to outline the task clearly with easy participation of the students
Trello is a very simple tool on the surface and as you peel off the layers you will discover how dynamic and powerful it is for absolutely every project. Millions of people and companies of all types and sizes use Trello to manage everything from team communication, new employee onboarding processes, customer service, weekly task lists, and even meal planning calendars.
Trello is packed with incredible features, shortcuts, and Power-Ups that will boost your efficiency.
How to do it (step by step)
Step 1
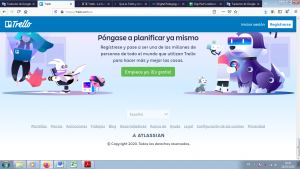
Open your account in trello.com To start working with the digital tool, the first thing you should do is access the Trello website and register as a user, entering an email and a password. Once inside the system, the interface is made up of three hierarchical blocks of content.

Step 2
Invite your students to trello.com.
Step 3
Open a new board with the name of the task and tag the student for the corresponding task.
Step 4
Once you enter the application; Top right, where you see the plus sign right next to your username. You click on the cross, new board and add the title. If you want you can add a specific organization, although it is not necessary. Then you can customize it by creating, deleting or changing rows as it suits you.
Step 5
Once you have created the board, on the right, in the menu, the members appear (in principle only you) and a button just below with the option to add members. There you can write the username and add anyone to your board so you can work together.
Step 6
Once the dashboard is created and the relevant members are inside, the idea is that we can use Trello.com as a complete communication channel between the team. You can now start a conversation and attachments from any device with access, Google Drive, Dropbox, Box and OneDrive, set tasks, manage them, make comments, monitor compliance within the established deadline, among many other function.
Step 7
Add different notes in the board, for example “Project Overview”, “Brainstorming” “Rough Draft” and “Task Completed”.
Step 8
Finally review and control the progress of the work of your students!
There is more…
You can apply this step to different goals in the class, project collaboration, lesson planning, newsletter, etc.

